Two knots or four? Read the model’s route before judging the string job
The useful comparison starts with the exact racquet and its documented route, then connects the method to the strings actually ordered.

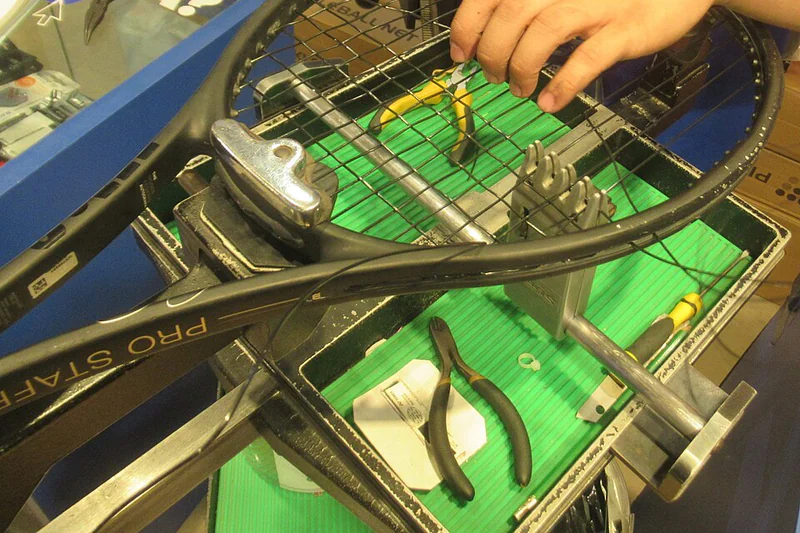
A four-knot string job gives you four visible endpoints to inspect. A complete work record connects those endpoints to the installed string, cross route and matching frame instructions. Wilson’s RF 01 and Blade instructions make the useful question concrete: which model, which construction method and which documented route? Start there when discussing your next restring.
In a conventional one-piece job, a continuous length supplies mains and crosses and finishes with two knots. A two-piece job uses a separate length for each direction and finishes with four. The strings in those two lengths can still be the same product. A hybrid order adds another decision: identifying the material and gauge assigned to each direction.
Read the model before reading the hole numbers
Take the complete model name from the racquet, including generation, head size and pattern. RF 01, RF 01 Future and RF 01 Pro have separate entries in Wilson’s directory; Blade 98 16×19 and Blade 98 18×20 are also separate entries. Save the link that matches the actual frame. This keeps a familiar family name from replacing the information the stringer needs.
| Label | What to identify |
|---|---|
| Mains / crosses | Longitudinal strings / transverse strings |
| H / T | Head end / throat end in the diagram |
| Skip | A hole omitted while routing the mains |
| Tie off | The specified location for securing a string end |
RF 01: the same frame has two documented cross starts
The RF 01 sheet linked by Wilson gives both methods. It lists one 11.5m length for a one-piece job, or 5.5m for the mains and 6m for the crosses. The separate lengths add to the stated total, but they are unequal. Someone supplying pre-cut string should confirm the length available for each direction before the job begins, rather than assuming two identical halves.
For this RF 01, the one-piece crosses start at the throat at 7T; the two-piece crosses start at the head at 7H. The sheet gives a single cross tie-off at 5H for one-piece and two cross tie-offs, 5H and 8T, for two-piece. These entries describe the selected route. A player comparing two finished RF 01 racquets can first ask which of those documented methods was used.
Keep the distinction between the main starting point and the first cross. On this sheet the mains start at the throat under either method, while the cross start changes with the method. Writing only “start at the top” leaves the direction unspecified. A clear question names the mains or crosses, then the method and the relevant manufacturer sheet.
Blade 98 and Blade 100 do not share every instruction
Wilson’s 2026 Blade 98 16×19 V10 sheet starts the crosses at the head, 8H, in both its one-piece and two-piece sections. The cross tie-offs differ between those sections. That gives a useful counterexample to treating one-piece as a synonym for starting crosses at the throat: the RF 01 and this Blade have the same 16×19 count, yet their one-piece routes differ.
| Exact model | One-piece crosses | Two-piece crosses |
|---|---|---|
| RF 01 | Throat, 7T | Head, 7H |
| Blade 98 16×19 V10 | Head, 8H | Head, 8H |
| Blade 100 V10 | Throat, 9T | Head, 8H |
The Blade 100 V10 sheet explicitly gives a throat start at 9T for one-piece and a head start at 8H for two-piece. Its separate drawing and tie-off entries belong with that model. When a shop changes the planned method, ask it to confirm the whole matching section of the sheet, including tie-offs. The first-cross location and endpoints can then be checked as a connected route.
Yonex: match the diagram’s model group
The tennis instruction PDF linked by Yonex USA groups several models beside each diagram. Its EZONE 98 group starts the mains at the head, whereas the group containing EZONE 100 starts them at the throat. Both groups show sixteen mains and nineteen crosses. The layout therefore has to be read together with the model list positioned beside it, not selected from the pattern count alone.
Follow the named group across its mains and crosses instructions before transferring anything to an order. The page places several similar racquet drawings close together, which makes an isolated line of extracted text easy to assign to the wrong model. Keep the complete page or a link to it available during the conversation, with the intended model group clearly identified.
Turn the choice into a usable order
Begin with the outcome you want to repeat: the current string combination, or an explicitly described change. Record the frame identity first, then the main and cross products, their diameters and the requested reference tension with its unit. Add the selected one-piece or two-piece method after consulting the matching instructions. That order of information makes both the equipment and the requested work visible.
- Photograph the model markings and record the generation, head size and string pattern.
- Name the string and diameter for each direction, even when they are identical.
- Write the requested tension and its unit beside each direction where applicable.
- Confirm the selected method and the matching manufacturer document with the stringer.
- At collection, note the actual products, completed method and job date on the receipt.
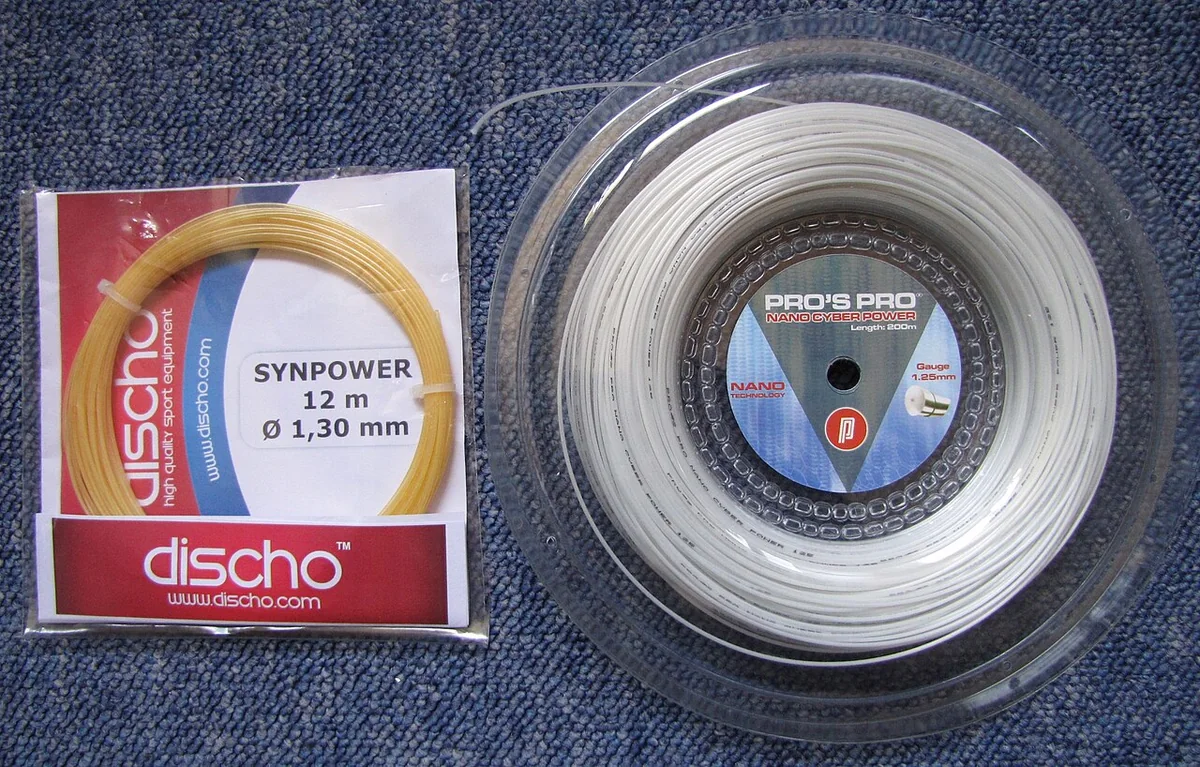
If you bring a reel, a full set or two half sets, state which before the stringer cuts anything. RF 01’s unequal main and cross lengths show why the packaging description belongs in that conversation. The stringer can compare the supplied material with the chosen pattern and working setup. Agree the allocation before treating the pack as ready for a particular job.
At collection, compare the receipt with the order while both are available. Look at the frame identity, installed string names and visible string ends together. If the method differs from what you expected, use the model sheet to ask how the job was completed. This makes the discussion about a specific route and recorded service, rather than an argument based only on counting knots.
Make the next comparison useful
When you want to repeat a setup, bring the written order back with the racquet. A photograph of the finished string bed can help the stringer locate your question, while the receipt supplies string identities and reference settings to accompany that visual record. Keep those two records together so the next job starts from the same equipment and an explicit request.
When you intentionally change the method, retain the same named strings, diameters and agreed reference settings where the model permits that comparison. Record the date and the playing time before describing any difference you notice. If the material or tension changes as well, list those changes too. The resulting note tells the next stringer which complete setup you actually used.
A useful handover can be brief: identify the exact frame, name both string directions, state the tension and confirm the appropriate instruction sheet. The visible knots then become one part of that record. This gives the player a practical way to ask for consistent work and gives the stringer the model-specific information needed to explain the chosen route.
Sources and further reading
- Wilson — Tennis Stringing Instructions | Wilson Sporting Goods
- Yonex — Yonex tennis stringing instructions
- Wilson — RF 01 stringing instructions
- Wilson — Blade 98 16x19 V10 stringing instructions
- Wilson — Blade 100 V10 stringing instructions
- Yonex — Yonex model-specific tennis stringing diagrams
- Tennis Warehouse — How to String a Tennis Racquet | Tennis Warehouse
Keep reading
Same gut, same poly—why reversing mains and crosses makes a different hybrid
Reversing mains and crosses changed static friction in two TWU hybrid pairings. Understand the contact mechanisms and retain a useful comparison record.
7 min read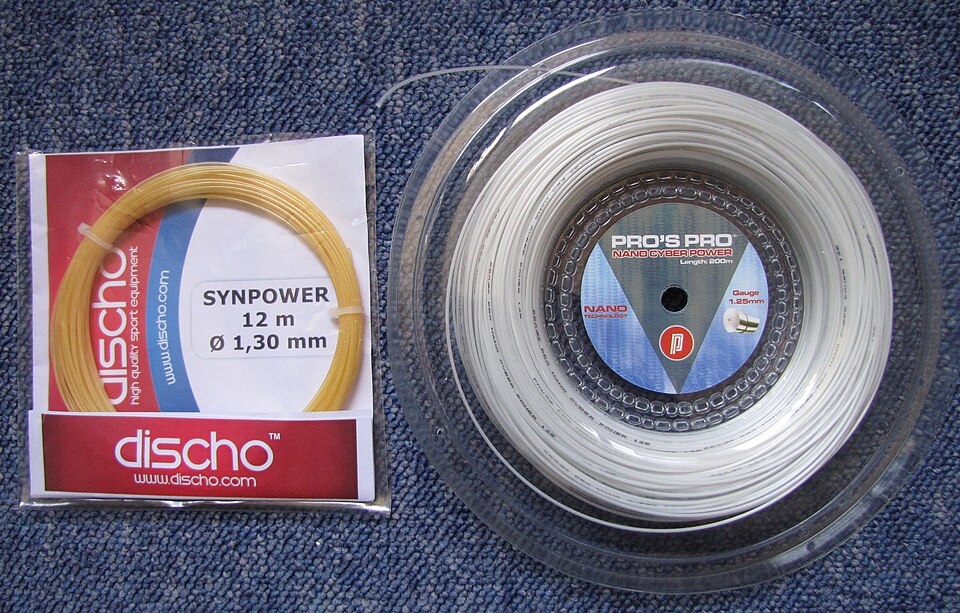
A 200 m reel is not 16.7 string jobs: buy the cuts you can actually use
Tour M8 sets and reels, O-TORO’s two half sets and Mach-10’s 12.2 m set show why package length, cutting plan and completed jobs belong in a string budget.
7 min read
Blade V10 16×19 or 18×20? Choose the flight, not the label.
Two Blades share a listed 632 cm² head and 305 g weight. Read their specifications and string-spacing mechanisms, then compare rally, attack and defensive tasks.
7 min readTENNIS TENSION LAB
Check your racquet’s tension today.
Get a high-precision tension reading in under 10 seconds. Tension Lab tracks changes from your first reading and helps you see when to restring.
- High-precision tension measurement. Ready in under 10 seconds.
- Track every change in feel. See the full story over time.
- Time to restring? Never leave it to guesswork.